
The Honeywell HMC5883L is a surface-mount, multi-chip module designed for low-field magnetic sensing with a digital interface for applications such as lowcost compassing and magnetometry. The HMC5883L includes our state-of-theart, high-resolution HMC118X series magneto-resistive sensors plus an ASIC containing amplification, automatic degaussing strap drivers, offset cancellation, and a 12-bit ADC that enables 1° to 2° compass heading accuracy.
The I2C serial bus allows for easy interface. The HMC5883L is a 3.0×3.0x0.9mm surface mount 16-pin leadless chip carrier (LCC). Applications for the HMC5883L include Mobile Phones, Netbooks, Consumer Electronics, Auto Navigation Systems, and Personal Navigation Devices.
The HMC5883L utilizes Honeywell’s Anisotropic Magnetoresistive (AMR) technology that provides advantages over other magnetic sensor technologies. These anisotropic, directional sensors feature precision in-axis sensitivity and linearity.
These sensors’ solid-state construction with very low cross-axis sensitivity is designed to measure both the direction and the magnitude of Earth’s magnetic fields, from milli-gauss to 8 gauss. Honeywell’s Magnetic Sensors are among the most sensitive and reliable low-field sensors in the industry.
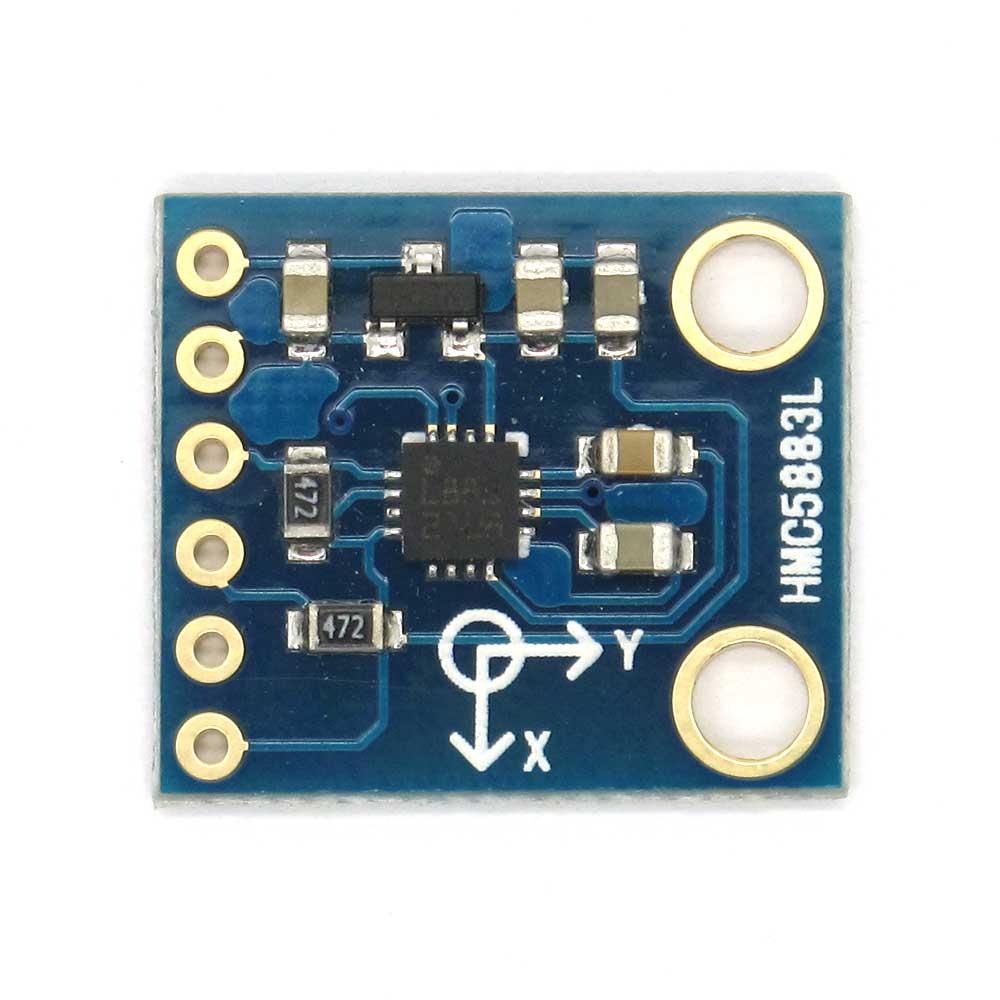
Here is a typical module
Parts List
Here are the parts I used
| Name | Links | |
| Wemos Mini | ||
| HMC5883L | ||
| Connecting cables |
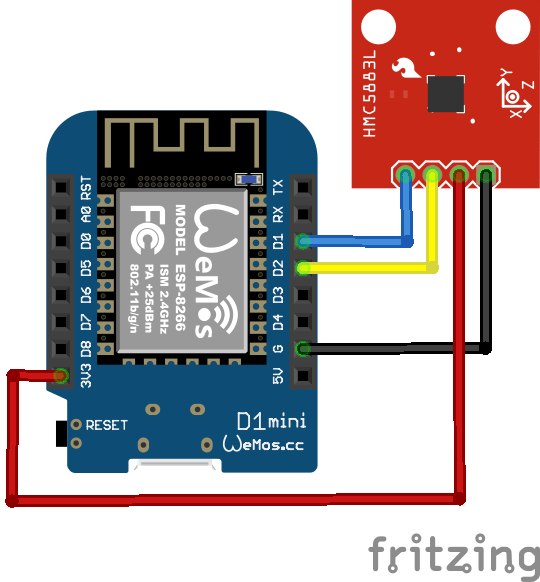
Layout
Code
This example uses the Adafruit libraries
#include <Wire.h>
#include <Adafruit_Sensor.h>
#include <Adafruit_HMC5883_U.h>

/* Assign a unique ID to this sensor at the same time */
Adafruit_HMC5883_Unified mag = Adafruit_HMC5883_Unified(12345);


void setup(void)
{
  Serial.begin(9600);

  /* Initialise the sensor */
  if(!mag.begin())
  {
    /* There was a problem detecting the HMC5883 ... check your connections */
    Serial.println("Ooops, no HMC5883 detected ... Check your wiring!");
    while(1);
  }
}

void loop(void)
{
  /* Get a new sensor event */
  sensors_event_t event;
  mag.getEvent(&event);

  /* Display the results (magnetic vector values are in micro-Tesla (uT)) */
  Serial.print("X: ");
  Serial.print(event.magnetic.x);
  Serial.print("  ");
  Serial.print("Y: ");
  Serial.print(event.magnetic.y);
  Serial.print("  ");
  Serial.print("Z: ");
  Serial.print(event.magnetic.z);
  Serial.print("  ");
  Serial.println("uT");

  // Hold the module so that Z is pointing 'up' and you can measure the heading with x&y
  // Calculate heading when the magnetometer is level, then correct for signs of axis.
  float heading = atan2(event.magnetic.y, event.magnetic.x);

  // Once you have your heading, you must then add your 'Declination Angle', which is the 'Error' of the magnetic field in your location.
  // Find yours here: http://www.magnetic-declination.com/
  // Mine is: -13* 2' W, which is ~13 Degrees, or (which we need) 0.22 radians
  // If you cannot find your Declination, comment out these two lines, your compass will be slightly off.
  float declinationAngle = 0.22;
  heading += declinationAngle;

  // Correct for when signs are reversed.
  if(heading < 0)
    heading += 2*PI;

  // Check for wrap due to addition of declination.
  if(heading > 2*PI)
    heading -= 2*PI;

  // Convert radians to degrees for readability.
  float headingDegrees = heading * 180/M_PI;

  Serial.print("Heading (degrees): ");
  Serial.println(headingDegrees);

  delay(500);
}
Testing
Open the serial monitor, here is what I saw
Heading (degrees): 34.00
X: 17.45 Y: 6.91 Z: -41.53 uT
Heading (degrees): 34.20
X: 17.27 Y: 7.18 Z: -41.22 uT
Heading (degrees): 35.18
X: 16.18 Y: 8.82 Z: -41.53 uT
Heading (degrees): 41.19
X: 13.82 Y: 9.82 Z: -41.73 uT
Heading (degrees): 48.00
X: 12.55 Y: 9.27 Z: -41.94 uT
Heading (degrees): 49.07
X: 16.82 Y: 4.45 Z: -42.24 uT
Heading (degrees): 27.44
X: 15.91 Y: 0.82 Z: -43.57 uT
Heading (degrees): 15.55
X: 15.00 Y: 2.64 Z: -43.27 uT
Heading (degrees): 22.57
